This is the story of a unique wedding dress and her creator Jo Franchetti, Tech Engagement Manager at Trainline. Jo’s got 6 years experience as a front end developer and has worked in various parts of the tech industry from startups, agencies, charities to large organisations. Her opinions and experiences often turns into interesting and inspiring facts. She will also deliver a speech at Codemotion Madrid about Perfectionism, Impostor Syndrome and Anxiety – Understanding your fears and learning to be kind to yourself (more information here).
In this article, however, we present a very interesting and peculiar project that Jo presented during Codemotion Rome 2019. The idea is conceptually simple: making a wedding dress that can change colour based on tweets! Interesting, but not so simple to realise as one might think at first.
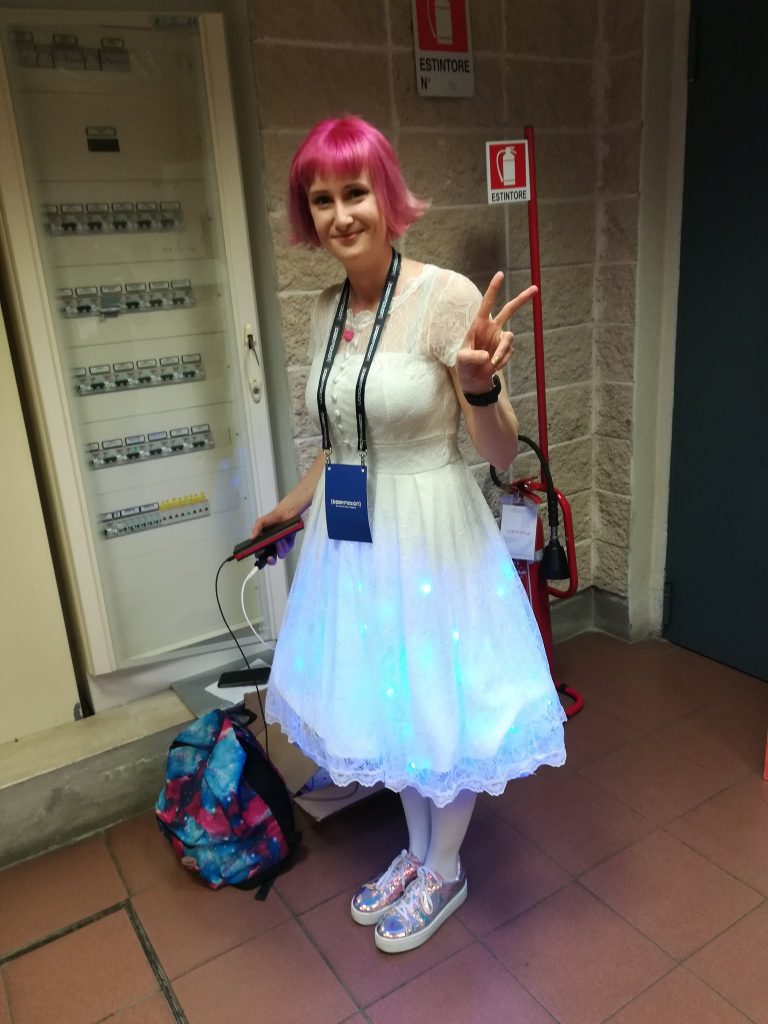
In this article, we will try to summarise Franchetti’s speech, to understand how this idea became a reality.
Hardware requirements
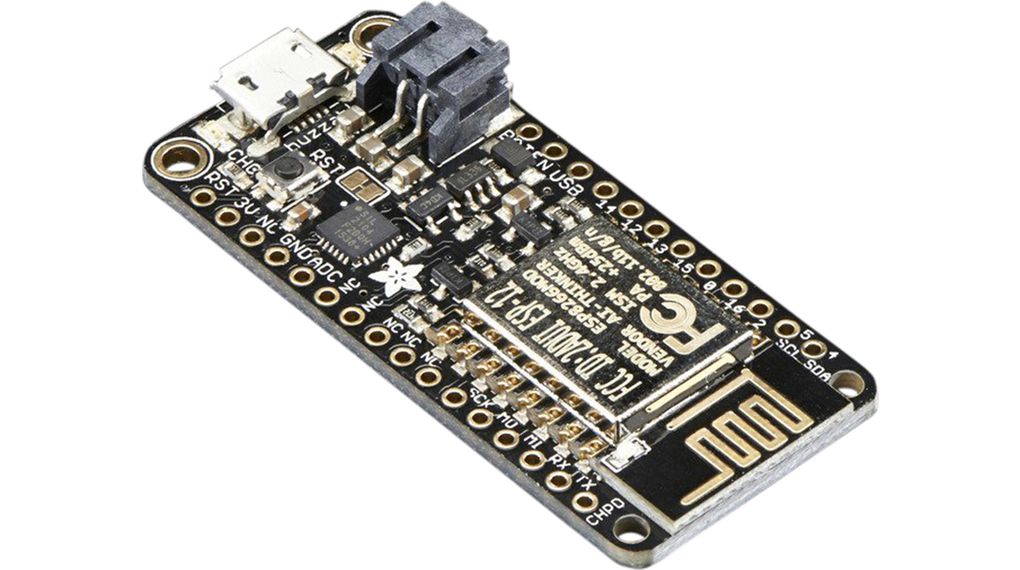
In order to create her dress, Franchetti started looking at some hardware solutions to realise it. She needed LEDs and some microprocessors to program them based on tweets – thus an Internet connection was also a requirement. There are many solutions to do this: Arduino and Raspberry Pi are probably two of the most common boards for electronic DIY, that can perfectly fit this case. However, for this project she opted for an Adafruit Feather Huzzah, which she highlighted to be small, lightweight and well-documented. It also has a WiFi board to connect to the Internet and to receive information from Twitter. Moreover, it cost less than 20 dollars. It seems a perfect choice indeed.
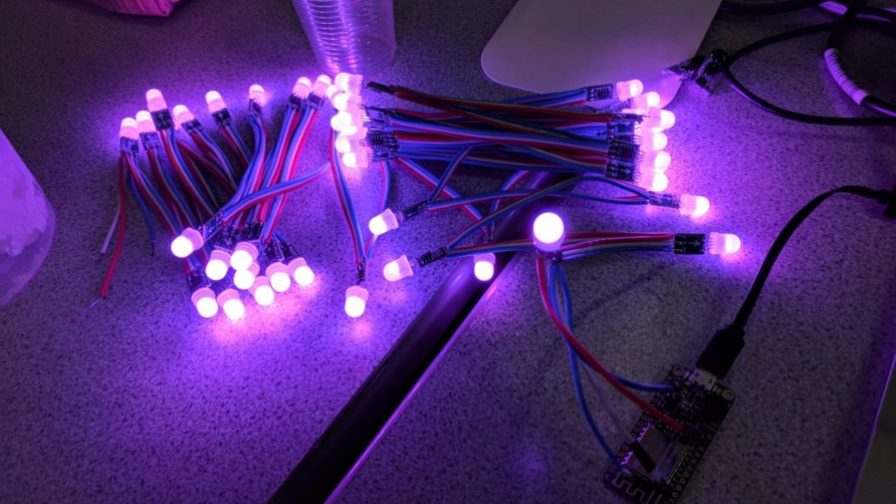
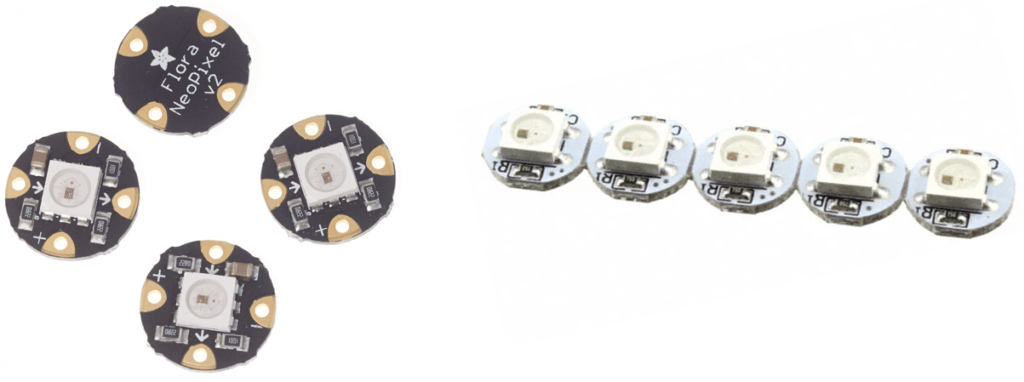
When looking at the LEDs, many products are available out there. Among them, Adafruit also produces some individual programmable pixel LEDs, namely Flora NeoPixels, which seemed the best option considering the choice of basing the project on an Adafruit board. However, cost is also a crucial factor: for the dress, Franchetti needed about 100 NeoPixels, and this would have meant going over her budget. So she opted for a cheaper version of the NeoPixels produced by Knockoff, that also has the advantage of having a white-coloured background, resulting in a better integration in her white wedding dress.
Of course, she also needed other basic stuff that are quite common for makers, like soldering iron and solder, wires, glue gun and so on. She also needed some white tulle for integrating everything in her dress, but here we will try to focus more on hardware and software.
Arduino IDE configuration
Another great advantage of the Adafruit board is the possibility of programming it by means of the Arduino IDE (version 1.6.8 or greater, preferably the latest release). After downloading it from Arduino.cc, we need to open the preferences and add the following URL into Additional Board Manager URLs:
http://arduino.esp8266.com/stable/package_esp8266com_index.jsonCode language: JavaScript (javascript)Next, using the Board manager, we have to install the ESP8266 package. This will take some minutes (depending on your Internet connection speed).
Finally, after rebooting the IDE, we will find our Adafruit board under the Tools menu.
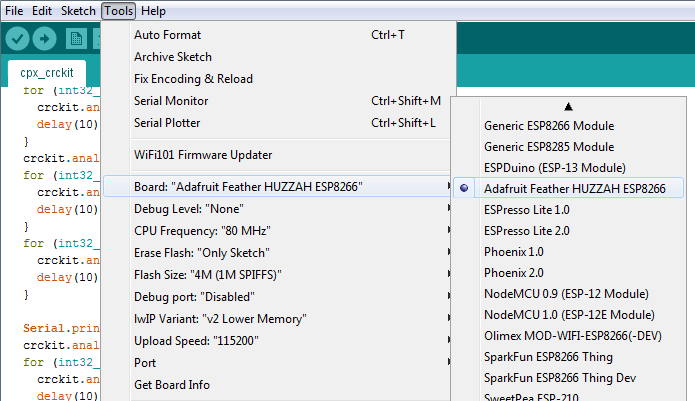
Once the configuration is completed, we are ready to work on the board. The following snippet shows us how to test the WiFi connectivity and represents a good starting point for programming your own WiFi-based applications on this board.
Using LEDs
Now that we have everything set up, it is time to connect up the LEDs. Considering a single NeoPixel LED, we have three different pins on it: power, data and ground. We have to connect them on the Adafruit board to 5V, pin 4 and GND respectively:
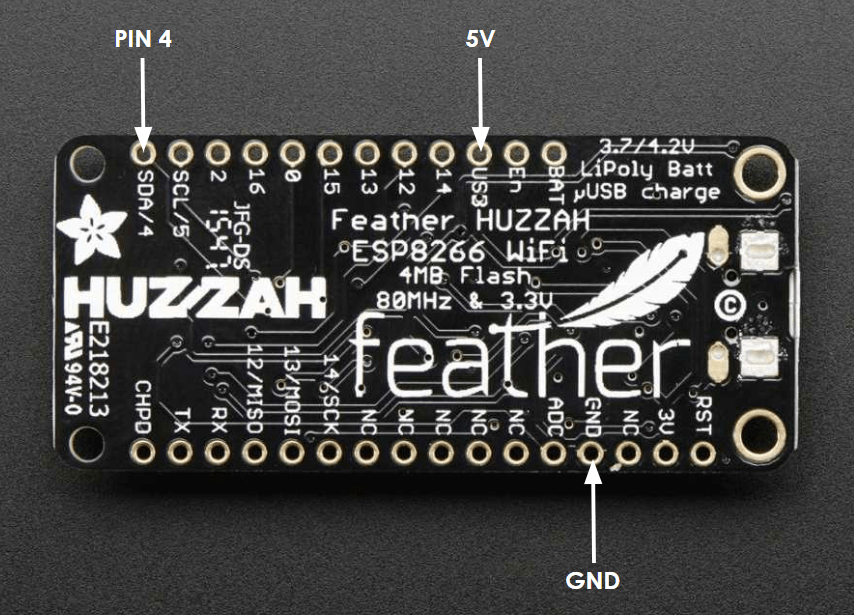
For this project, we want to have all the LEDs receiving the same data information. Consequently, we can connect all of them in series, accordingly to the schema depicted in the following figure:

It is worth noting that, during the development, we can use the power line provided by our computer, connecting the board via USB. When wearing the final working dress, a good power source can be a USB power bank.
When everything is set up, we can test if everything is working by means of the strand test available from the Arduino IDE. If we did everything correctly, we should see something like this:
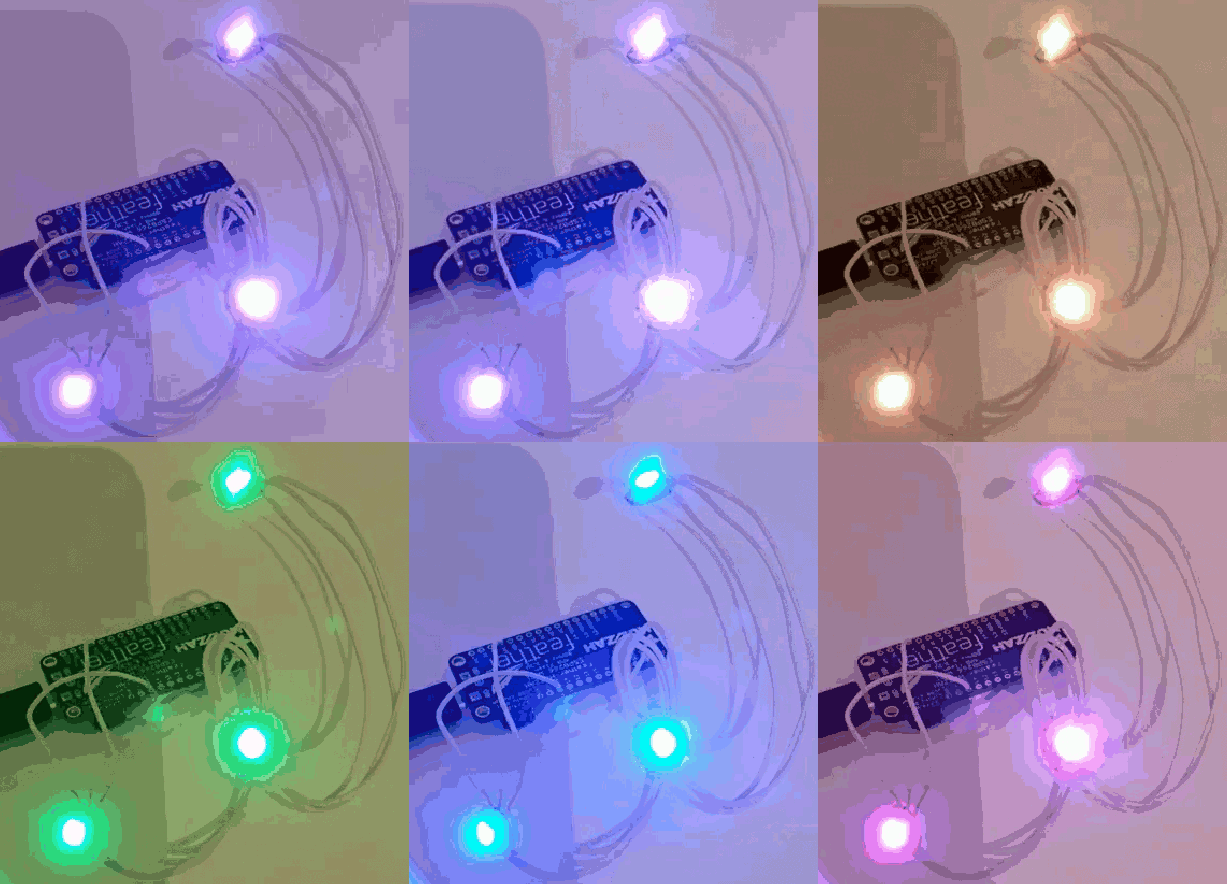
The final component we need in order to turn on the LEDs is the Cheerlights API. This allows us to specify which RGB color our LEDs have to show. Uploading Cheerlights code on the board is quite easy and can be done by means of the Arduino IDE. Full instructions are available on this documentation page.
Using Twitter API
The last thing we need to set up is a Twitter account that will represent the dress. Basically, we want that when someone tweets, mentioning the account and a colour, that colour will be shown on the dress.
To achieve this, we need to read the Twitter mentions and this is possible by exploiting specific API. However, we need to register our application as a Twitter App from https://apps.twitter.com/. Such registration will allow us to get a Consumer Key and a Consumer Secret, which are required to access the Twitter API. The following screenshot was taken from Twitter by Jo Franchetti and it contains some information about the Twitter app she registered for her dress:
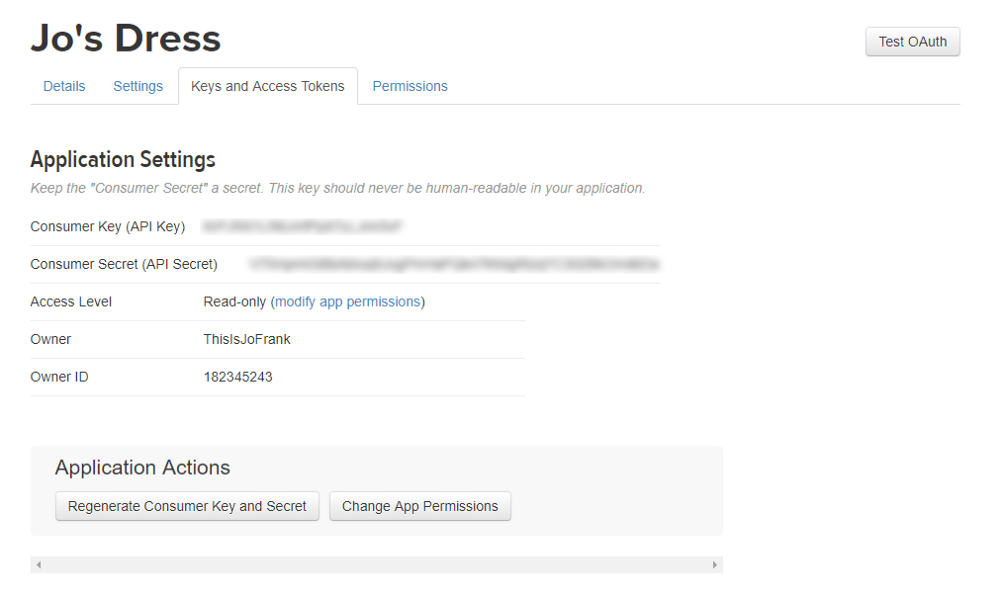
Oncee we are done with this setup, we have many choices to interact with Twitter by means of the official API. Franchetti opted for Node.js, with the Twit package, and the code is available on GitHub.
She also created an associative array with the list of HTML color names, in order to associate names to RGB values (which are the ones required from the Cheerlights API), resulting in something like this:
Conclusion
Jo Franchetti wore her great dress for her wedding, although it unfortunately got broken during the journey from her home to the wedding place. Luckily, she posted a video of the working dress right before the wedding and the result is pretty impressive:
In conclusion, this is a very interesting idea and can be potentially replicated for many other dresses. In fact, this is just a starting point for many other wearable projects. And perhaps this will be a standard dress code in ten or twenty years, who knows!
If you are interested in other Jo Franchetti’s experiences, do not miss the opportunity to meet her again in Codemotion Madrid 2019! Check the agenda at this link, and do not forget to get your ticket!


